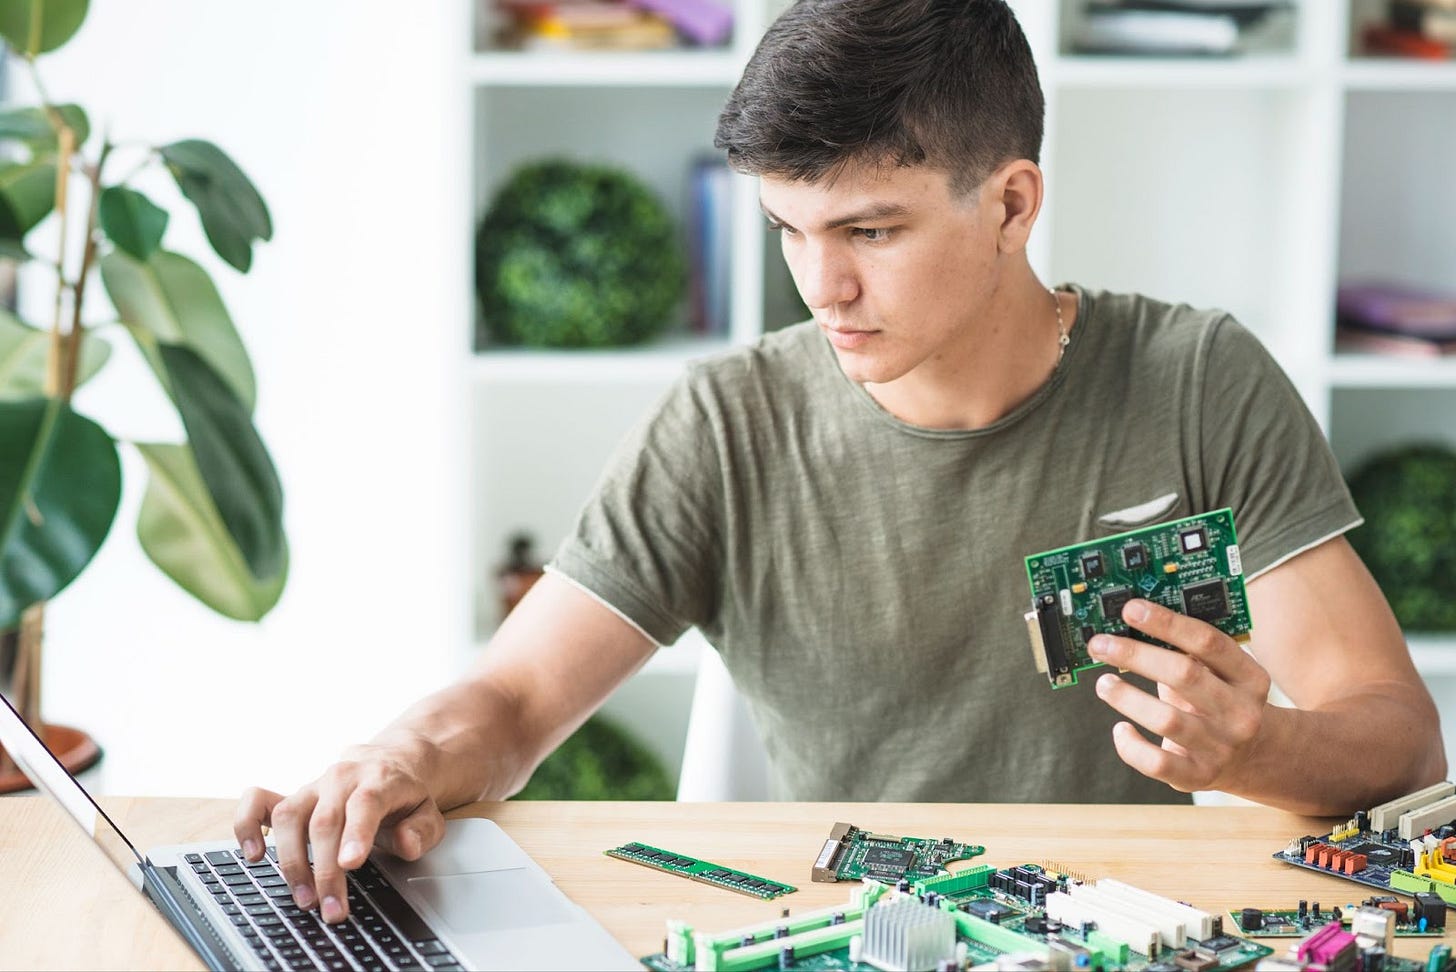
Building your own PC might sound intimidating — especially if you’ve never handled computer hardware before. But in 2025, it’s more accessible than ever. Thanks to user-friendly components, thousands of tutorials, and a growing community of DIY builders, assembling your own gaming PC has become a rewarding experience for beginners and enthusiasts alike.
In this guide, we’ll walk you through everything you need to know to confidently build your first PC — no technical background required.

Why Build Your Own PC?
Before we get into the how, let’s talk about why so many gamers and creators choose the DIY route:
- Customization: You get to pick the exact components that match your performance needs and aesthetic preferences.
- Upgradability: You build with future upgrades in mind — no locked-down parts or limitations.
- Satisfaction: There’s nothing like booting up a PC you built yourself.
- Learning: You gain valuable knowledge about how computers work — which also helps with troubleshooting later.
Step 1: Understand the Core Components
To build a working PC, you need these essential parts:
- CPU (Processor): The brain of your PC.
- GPU (Graphics Card): Responsible for rendering game graphics.
- Motherboard: The central hub that connects all your components.
- RAM (Memory): Helps with multitasking and game performance.
- Storage (SSD/HDD): Stores your operating system, games, and files.
- Power Supply Unit (PSU): Delivers power to all components.
- Case (Cabinet): Houses and protects your components.
- Cooling (Fans or AIO coolers): Keeps your system running at safe temperatures.
- Wi-Fi/Bluetooth card (if not built into your motherboard)
- RGB lighting for aesthetics
- Sound card (most motherboards already include decent audio)
Step 2: Pick Compatible Components
Here’s where most beginners get stuck — but don’t worry, compatibility isn’t as complicated as it seems.
- CPU and Motherboard: Must share the same socket (e.g., AM5 or LGA1700).
- RAM Type: Match the motherboard’s supported RAM type (e.g., DDR5).
- GPU Size: Ensure your case has enough space for your graphics card.
- Power Supply Wattage: Choose a PSU with enough headroom to support your components reliably.
- Case Size: Make sure the motherboard (ATX, mATX, Mini-ITX) fits in your chosen case.
You can use online PC part picker tools to check compatibility before buying.
Step 3: Assemble the PC (Beginner-Friendly Order)
- Prepare Your Workspace
- Clean surface
- Anti-static wrist strap (optional, but safe)
- Small screwdriver
- Install CPU onto Motherboard
- Open CPU socket latch
- Carefully align CPU (look for the triangle)
- Gently place and lock it
- Install RAM
- Open RAM slot clips
- Insert RAM sticks firmly until they click into place
- Install Storage
- M.2 SSD: Screw into the M.2 slot
- SATA SSD/HDD: Mount and connect with SATA cable
- Install CPU Cooler
- If using stock cooler, apply pre-applied thermal paste
- If using aftermarket cooler, apply a pea-sized drop of thermal paste before mounting
- Install Motherboard into Case
- Align with standoffs and screw it in securely
- Install Power Supply
- Place into PSU compartment
- Connect 24-pin, 8-pin CPU, GPU, and SATA power cables
- Install Graphics Card
- Insert into the PCIe slot
- Secure with screws and connect power cables
- Connect Case Cables
- Front panel (power/reset buttons, USB ports, audio)
- Use the motherboard manual to guide connections
- Cable Management
- Use cable ties or routing slots to keep airflow clean and tidy
- Double-Check Everything
- All cables connected?
- RAM/GPU fully seated?
- No loose screws?
Step 4: Power On and Install Software
- Connect your monitor, keyboard, and mouse
- Press the power button
- You should hear fans spin and see lights
- If not, recheck power cables and motherboard connections
- Enter BIOS
- Usually by pressing DEL or F2 during startup
- Check that CPU, RAM, storage, and GPU are detected
- Install Operating System
- Use a USB drive with your preferred OS (e.g., Windows or Linux)
- Follow on-screen instructions to complete setup
Step 5: Update and Optimize
Once your system is up and running:
- Install GPU drivers (from NVIDIA or AMD website)
- Update motherboard BIOS (if needed)
- Install essential apps (game launchers, browser, performance monitors)
- Tweak in-game settings for performance and visuals

Tips for First-Time Builders
- Watch step-by-step videos as you build — visual guidance helps!
- Be patient — building a PC isn’t hard, but rushing can lead to mistakes.
- Keep your manuals — especially the motherboard and case documentation.
- Don’t panic if it doesn’t boot on the first try — check connections, RAM seating, and power cables.
Final Thoughts
Building a PC in 2025 is less about being a tech wizard and more about being curious and careful. With the right guidance, anyone can do it — and once you’ve built your first PC, you’ll never look at a pre-built system the same way again.
Your gaming rig won’t just be a machine.
It’ll be your machine — made by you, for you.